

Making your rice flour at home might sound a little intimidating, but it's super easy-and totally worth it. That's what this rice flour recipe is all about: simple, wholesome, and full of tradition.
Jump To
Whether you're avoiding gluten or just want a fresher, cleaner flour than what you'd get from the store, this guide will show you how to make it yourself with just one basic ingredient.
One ingredient
Here's what you'll need to make rice flour.

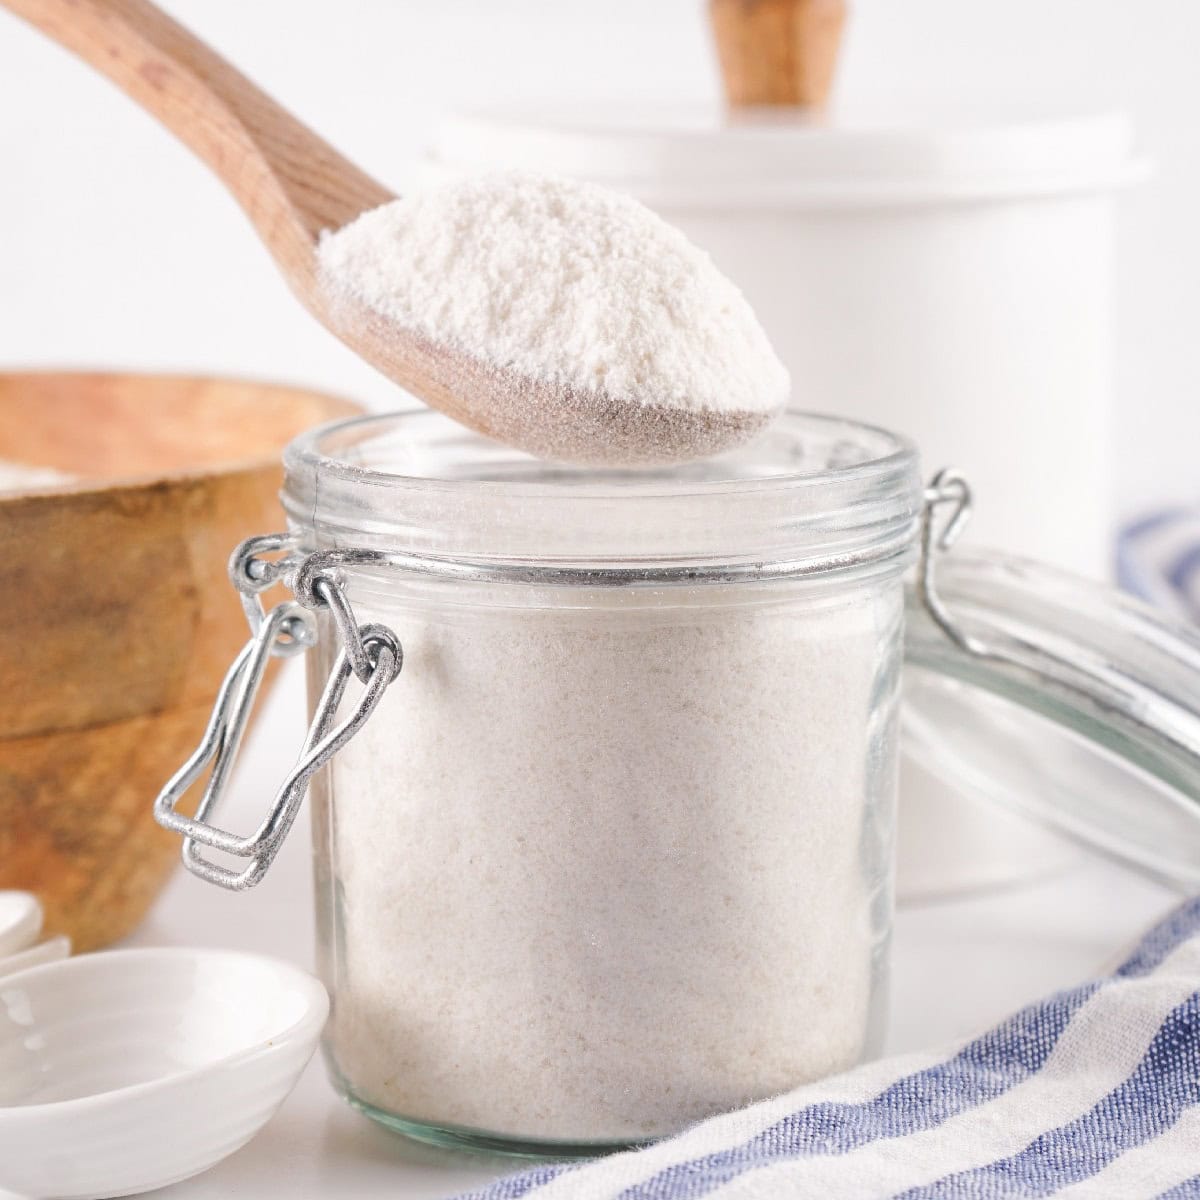
Long-grain white rice: This pantry staple is light, fluffy, and perfect for grinding into a fine flour.
How to make homemade rice flour step by step
Follow these easy steps to make the recipe from start to finish.


- Place a portion of the rice into your grinder and grind for about 15 seconds, or until it reaches a fine, flour-like texture. If your grinder can't hold the full 2 cups of rice, no worries-just grind a little at a time until you're done.
- If you want a super smooth flour, go ahead and sift it to catch any tiny bits that didn't get fully ground.
- Once you're done, store the flour in an airtight container in a cool, dry spot. It'll stay fresh for up to 5 months-maybe even longer!

Pro tips
Use these handy tips to get the best results every time.
Make sure your rice is completely dry before you start grinding. Even a slight amount of moisture can cause the flour to clump, and it may spoil more quickly. If you've rinsed your rice beforehand, be sure to let it dry out thoroughly-air drying overnight works well.

When it's time to grind, work in small batches. Most grinders cannot handle large amounts at once, and overloading them can result in uneven flour. Grinding a little at a time helps you get a finer, more consistent texture without stressing your machine.
After grinding, give the flour a quick sift. This step helps catch any larger bits of rice that didn't get fully broken down. You don't have to throw those out-just pop them back in the grinder and give them another go. It's a simple way to make sure your homemade rice flour is smooth and ready to use.

Make sure your equipment is completely dry before grinding. Any moisture left in your blender or mill can cause the flour to clump or spoil more quickly. A coffee grinder works surprisingly well for small batches, while a dedicated grain mill is ideal for making larger quantities of flour with a super fine texture.
Storage
Store your freshly ground rice flour in an airtight container in a cool, dry place. It will last up to five months in the pantry, or even longer if stored in the fridge or freezer.

Be sure to label it with the date so you know when it was made. Just like store-bought versions, homemade rice flour stays freshest when kept away from heat and moisture.
Variables
Here are some common variations and substitutions you can try.
This rice flour recipe can be easily adapted to suit different types of rice. Want a nuttier, earthier flour? Try using brown rice instead of white. Brown rice flour adds more fiber and nutrition, making it great for denser baked goods. Just remember-it has a shorter shelf life due to its higher oil content, so keep it refrigerated.

You can also make your own blend by combining rice flour with other gluten-free options like almond flour or oat flour. If you're creating flour blends for free baking or wheat flour substitutions, this homemade version is a great base. It also works well mixed with tapioca starch for extra softness in recipes like pancakes or muffins.
Pairing dishes
Now that you've made your own rice flour, the possibilities are endless. It's perfect for whipping up quick gluten-free flatbreads, adding structure to free-baking cakes, or thickening a comforting pot of soup. You can also use it in tempura batter for extra crispy fried vegetables or protein.

Craving something sweet? Use this rice flour in your next batch of homemade mochi or even blend it with coconut milk and sugar for a traditional Asian rice cake. It's a great option for dairy-free or gluten-free eaters, and it's fun to get creative in the kitchen with such a simple ingredient.
Final thoughts
Making your own rice flour at home is one of those simple kitchen wins that feels surprisingly satisfying. It's easy, affordable, and provides a super fresh ingredient that you can use in many recipes. Plus, there's something special about knowing exactly what went into it-just pure rice, nothing else. Once you try it, you might never go back to the store-bought kind!
So grab your rice and start blending-there's a world of rice flour recipes just waiting for you.
FAQ
You can use either white rice or brown rice, depending on what flavor and texture you're going for. White rice gives you a lighter, smoother flour, while brown rice flour has a nuttier flavor and a bit more texture.
If you want to rinse it, that's fine-just make sure to dry it completely before grinding. Moisture can cause clumping and shorten the shelf life of the flour.
A high-speed blender (like a Vitamix) or a spice/coffee grinder works best. Regular blenders may not grind the flour fine enough and could struggle with harder grains, such as uncooked rice.
It should look and feel like soft flour-smooth and powdery with no big bits. If it feels gritty, try grinding it a little longer or sifting and re-grinding the larger pieces.
Yep! It works well in most recipes that call for rice flour, such as baked goods, pancakes, dumplings, or as a thickener for soups and sauces.
Yes! Rice flour is naturally gluten-free; however, if you need it for someone with celiac disease, ensure that your tools and workspace haven't come into contact with any gluten-containing ingredients.
Best Rice Flour Recipe for Gluten-Free Cooking
Equipment
Ingredients
- 2 cups long grain white rice
Instructions
- Place a portion of the rice into your grinder and grind for about 15 seconds, or until it reaches a fine, flour-like texture. If your grinder can't hold the full 2 cups of rice, no worries-just grind a little at a time until you're done.
- If you want a super smooth flour, go ahead and sift it to catch any tiny bits that didn't get fully ground.
- Once you're done, store the flour in an airtight container in a cool, dry spot. It'll stay fresh for up to 5 months-maybe even longer!


Leave a Reply